5. Install the Northbeam Pixel
The Northbeam Pixel is a required snippet of code that allows us to collect behavioral information about your website visitors – including their marketing touchpoints and pages they’ve visited.
The Northbeam Pixel serves as a critical tool for monitoring activities on your website, including tracking purchases and page views.
This functionality is key for several reasons:
- Enhanced Customer Journey Insights: By implementing pixel tracking, you gain valuable data that aids in understanding and creating the customer journey. This insight is instrumental in understanding your top and bottom of funnel!
- Essential for helping us create a picture of your customers: This allows us to understand if your customers are coming back to the site so that you can differentiate and gain insights into New vs Returning customers.
Installation Instructions
<!-- Begin: Northbeam pixel -->
<script>(function(){var r;(e=r=r||{}).A="identify",e.B="trackPageView",e.C="fireEmailCaptureEvent",e.D="fireCustomGoal",e.E="firePurchaseEvent",e.F="firePurchaseSyncEvent";var e="//j.northbeam.io/ota-sp/{YOUR_APP_ID}.js";function t(e){for(var n=[],r=1;r<arguments.length;r++)n[r-1]=arguments[r];a.push({fnName:e,args:n})}var a=[],n=((n={_q:a})[r.A]=function(e,n){return t(r.A,e,n)},n[r.B]=function(){return t(r.B)},n[r.C]=function(e,n){return t(r.C,e,n)},n[r.D]=function(e,n){return t(r.D,e,n)},n[r.E]=function(e){return t(r.E,e)},n[r.F]=function(e){return t(r.F,e)},window.Northbeam=n,document.createElement("script"));n.async=!0,n.src=e,document.head.appendChild(n);})()</script>
<!-- End: Northbeam pixel -->
Please install this script in the head section of every page in your website. Be sure to replace {YOUR_APP_ID} with your unique Northbeam app ID.
The installation process of our pixel varies based on your website's hosting platform.
- If you use Google Tag Manager, please follow the Google Tag Manager instructions below.
- If you use Shopify, please follow the Shopify instructions below.
Google Tag Manager Instructions
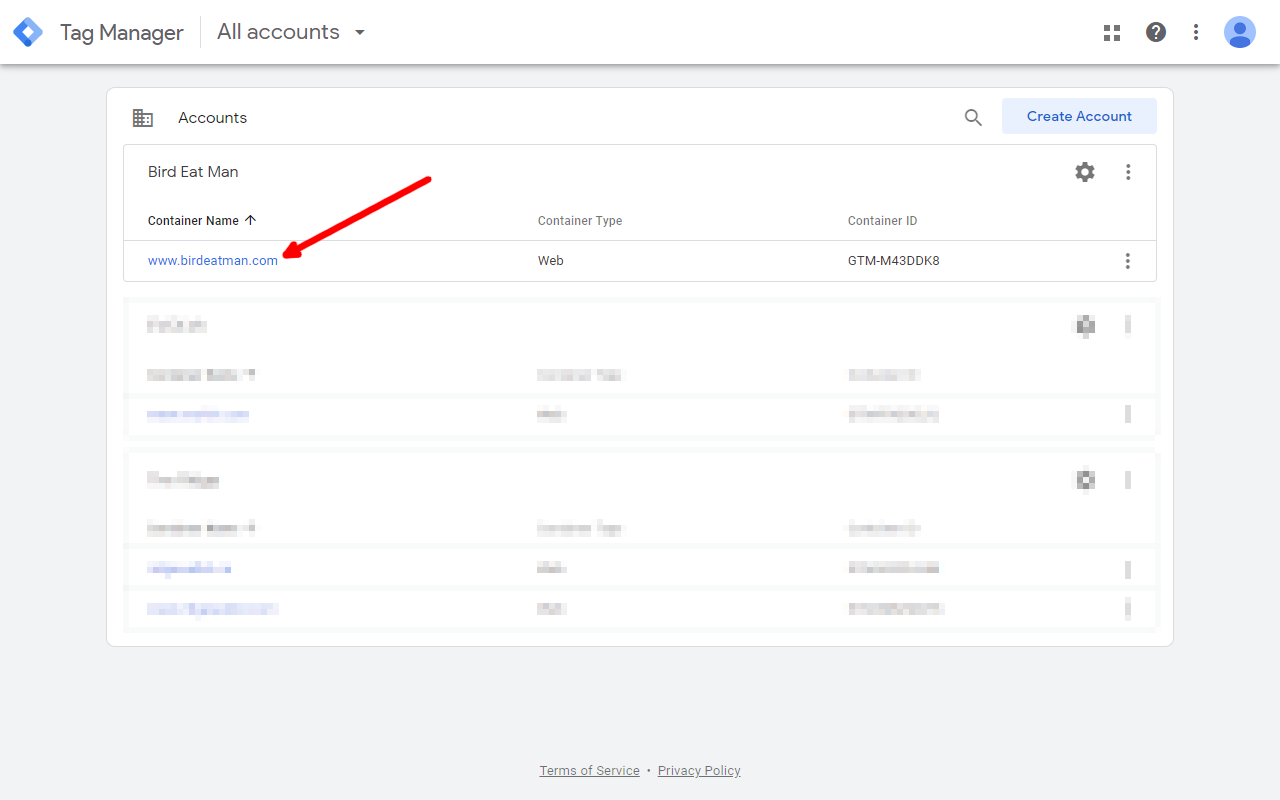
- Go to https://tagmanager.google.com and select the website where you want to install the Northbeam Pixel.
- Click on "Add a new tag".
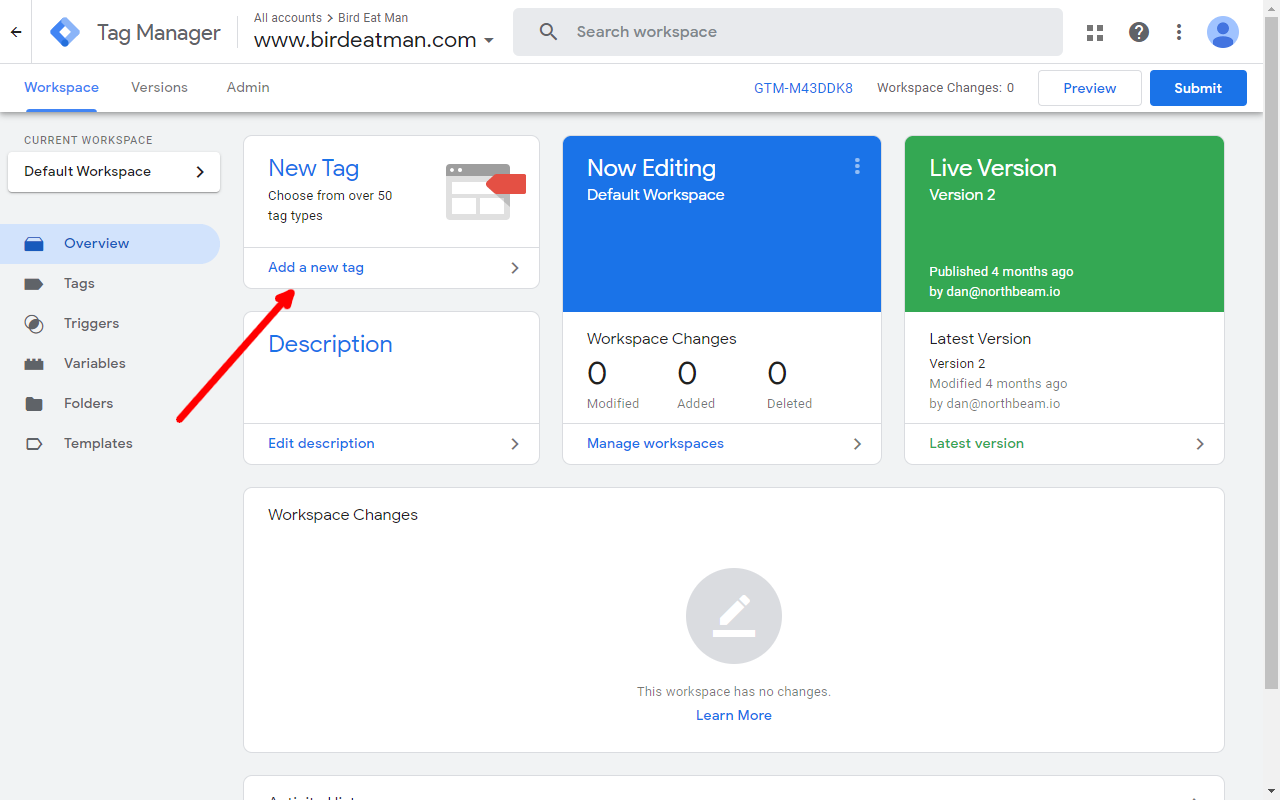
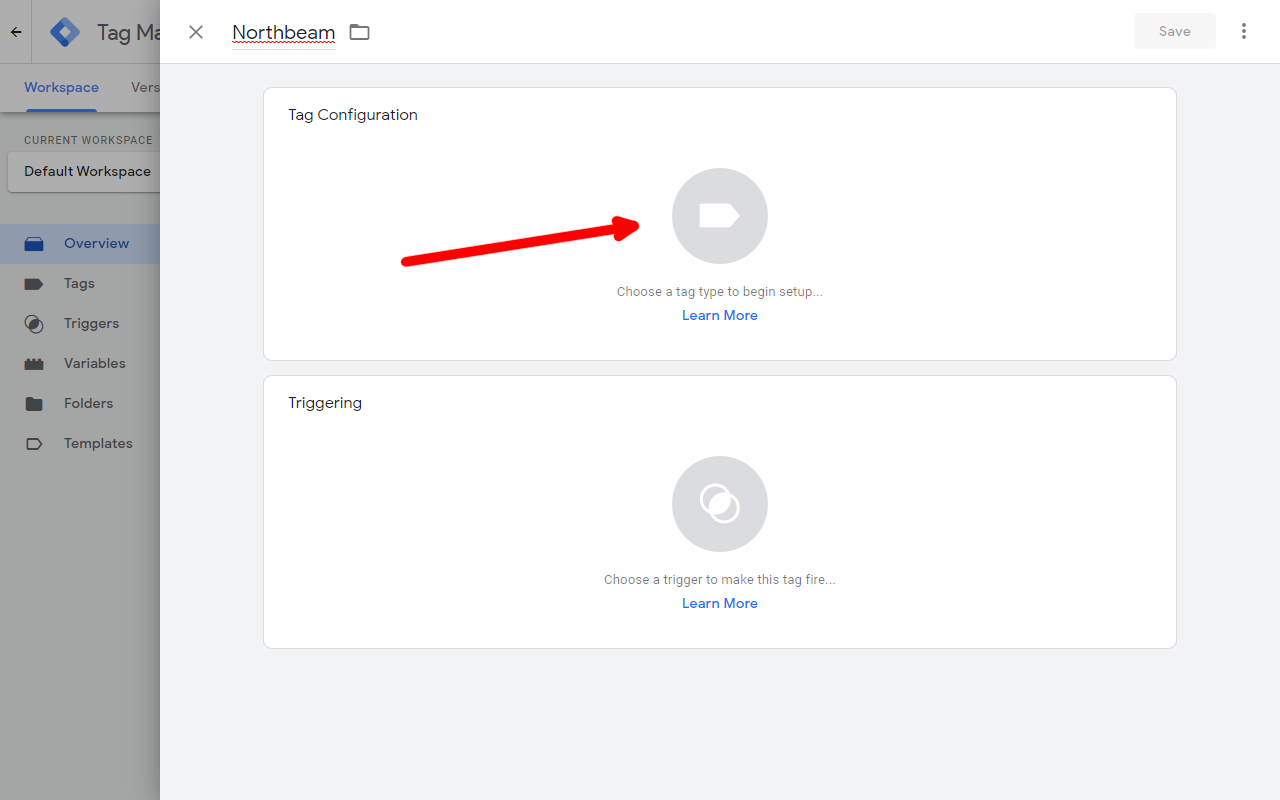
- Name the tag "Northbeam" so you can find it easily later. In the "Tag Configuration" section, click "Choose a tag type to begin setup...".
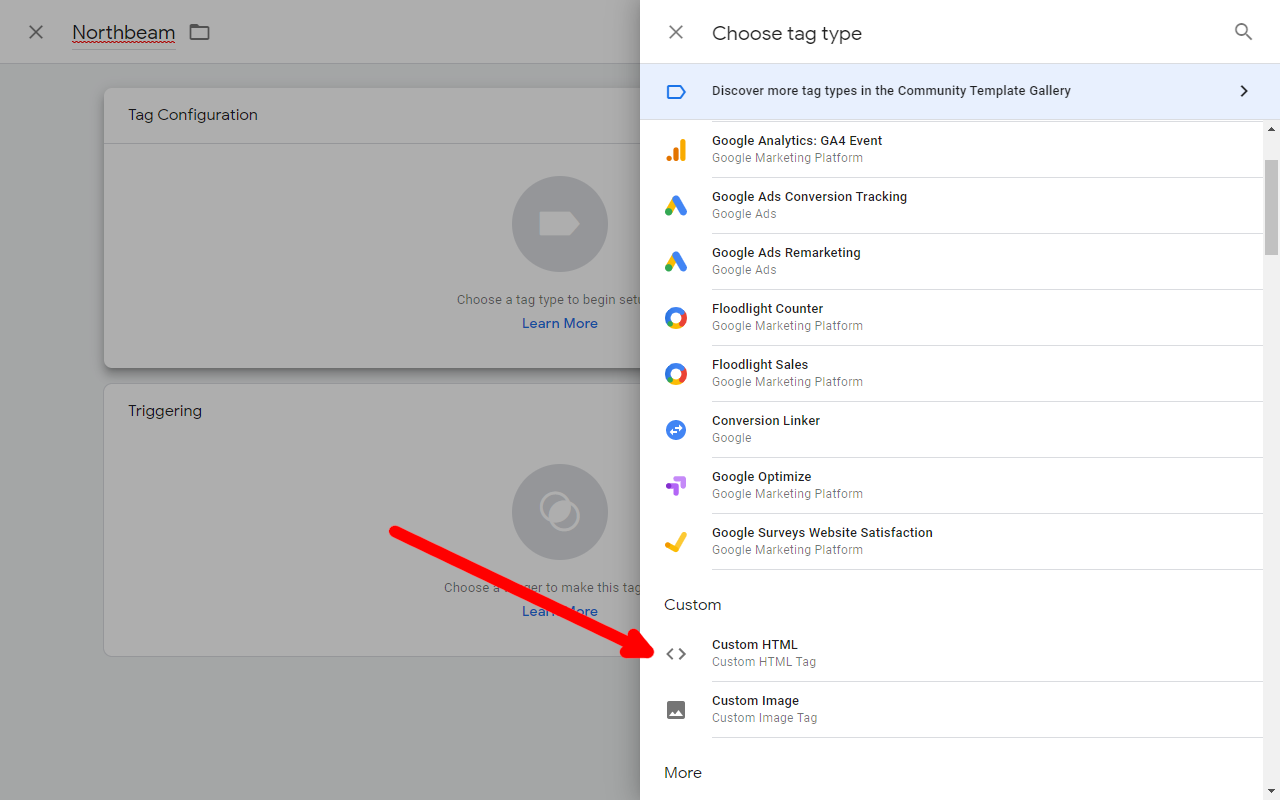
- In the "Custom" section of the "Choose a tag type" menu, click "Custom HTML" tag type.
- Complete the following steps to add the Northbeam tag:
- Add the Northbeam Pixel to the "HTML" section of the screen. You can find your code snippet in your Northbeam dashboard in Settings > Tracking script tags.
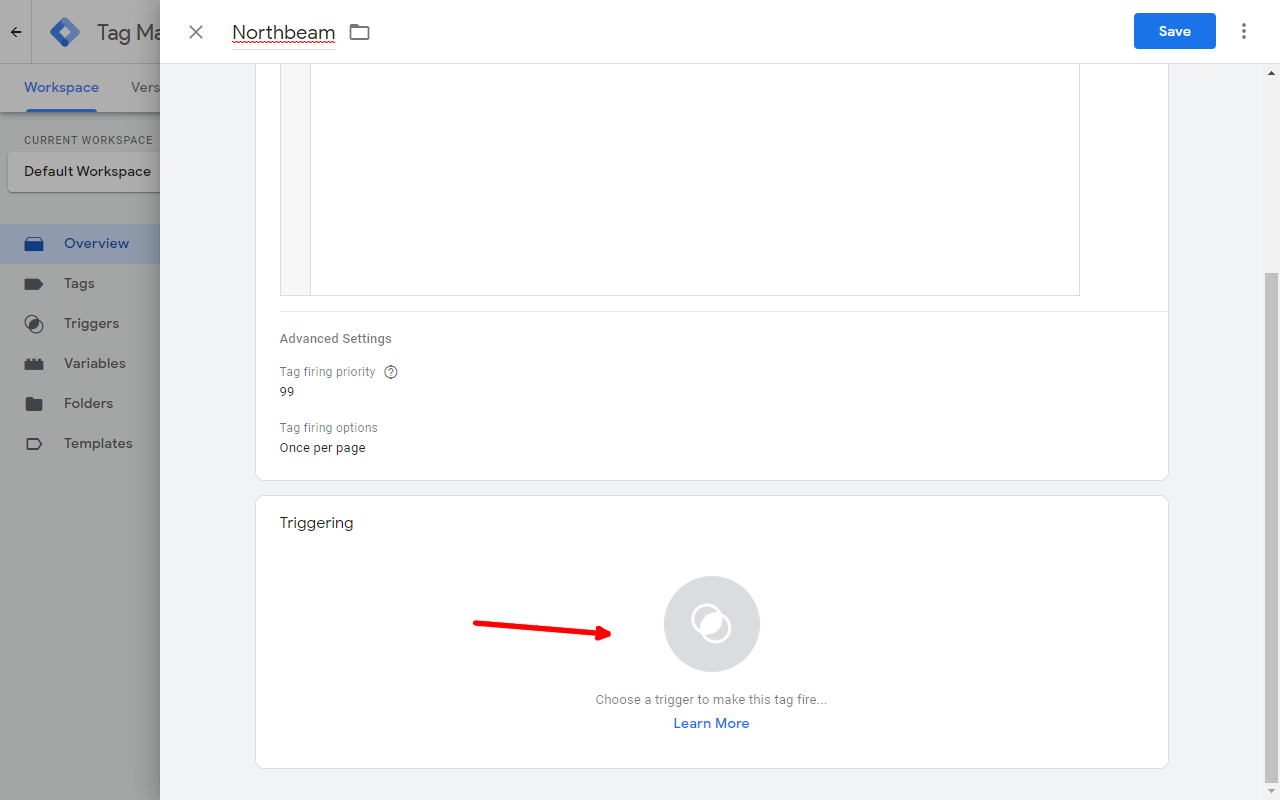
- Set "Tag firing priority" to "99"
- Set "Tag firing options" to "Once per page"

- Click "Choose a trigger to make this tag fire..." to configure Trigger settings.
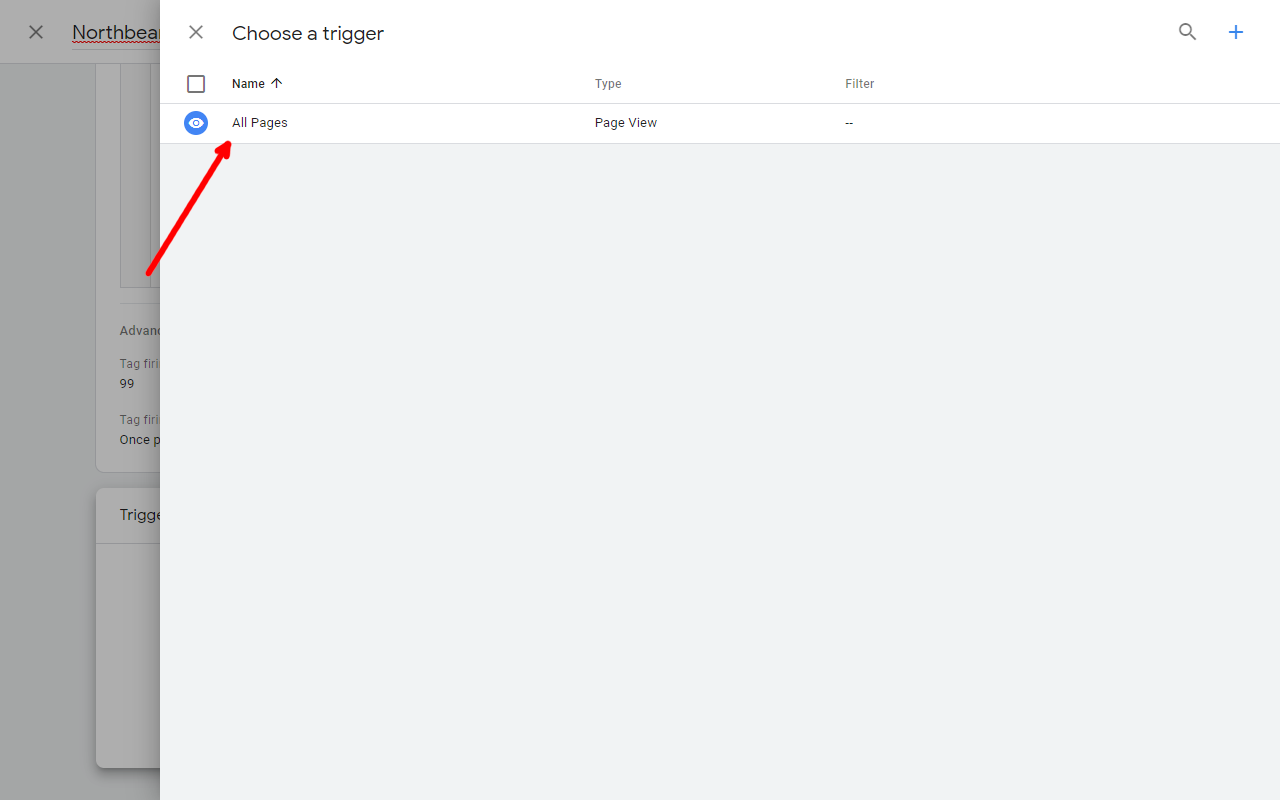
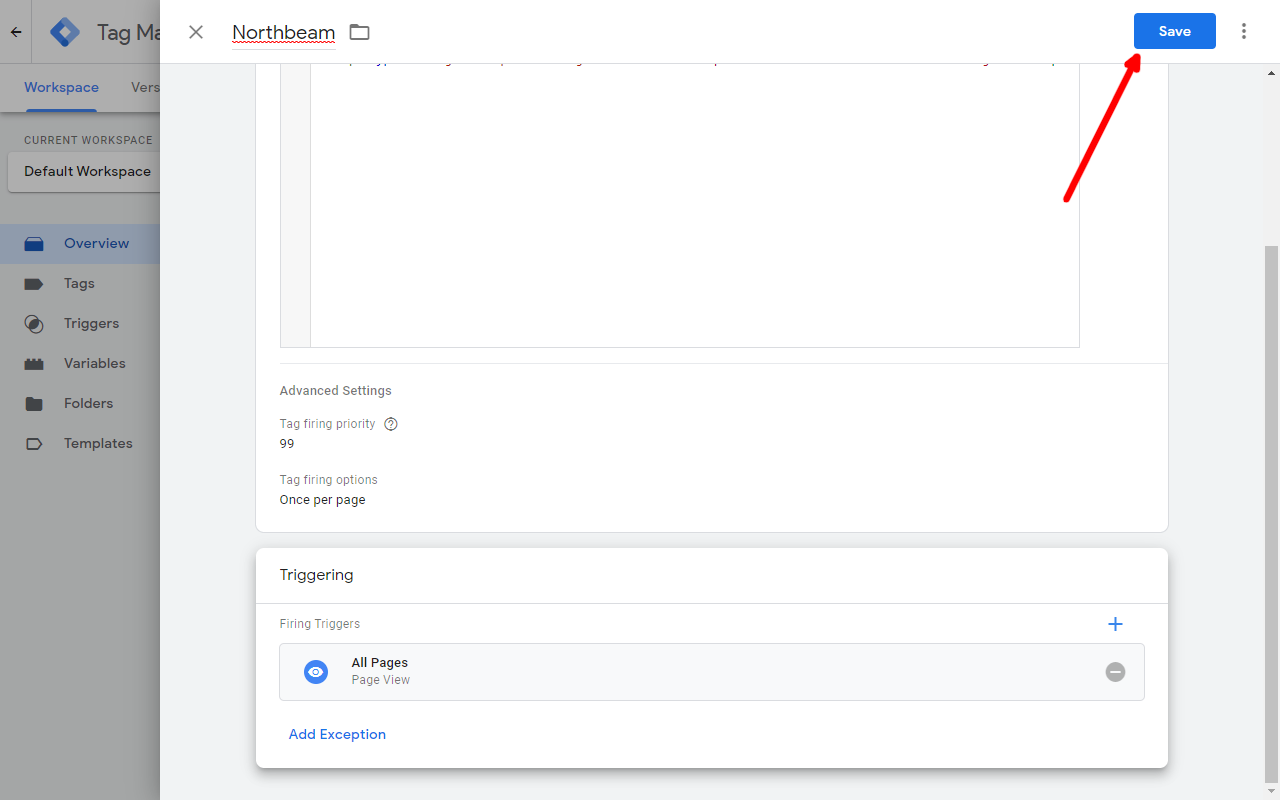
- Select the "All Pages" trigger.
- Click "Save" to save this new tag.
- Click "Submit" to deploy the tag.
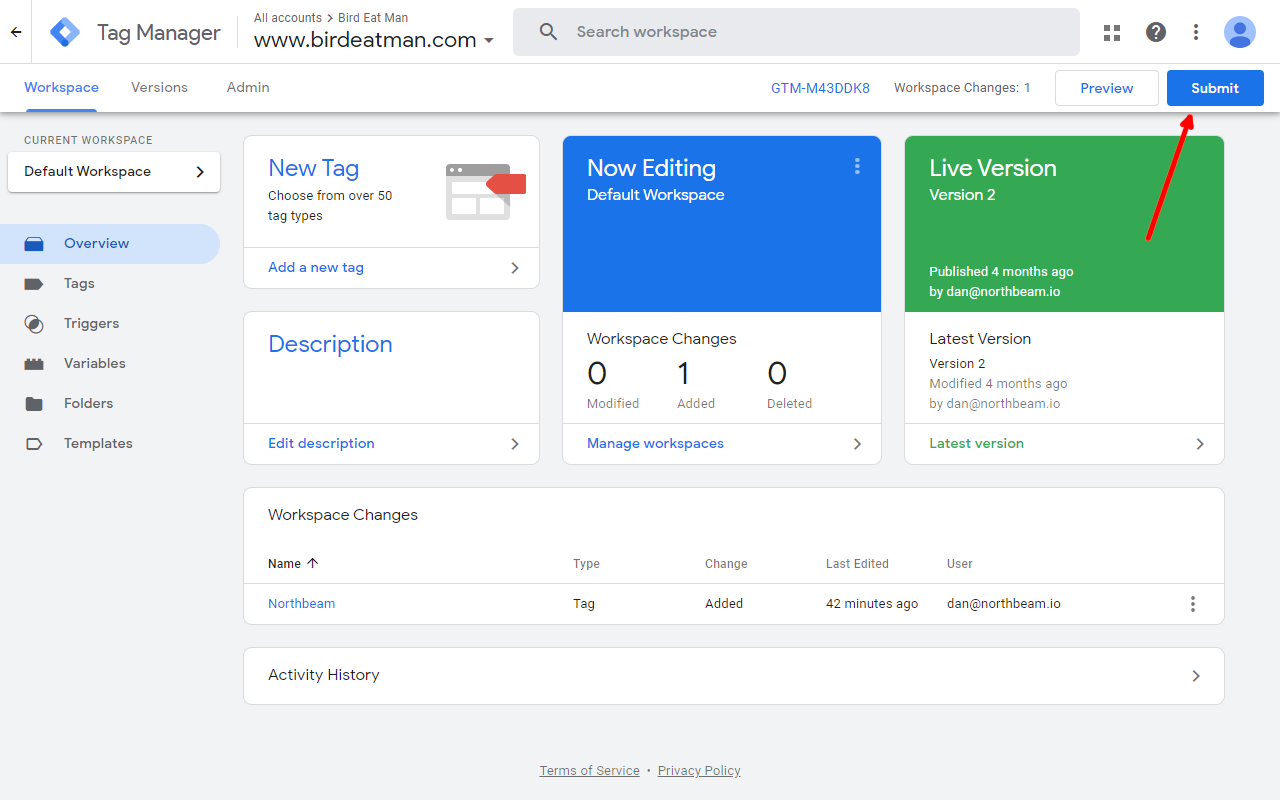
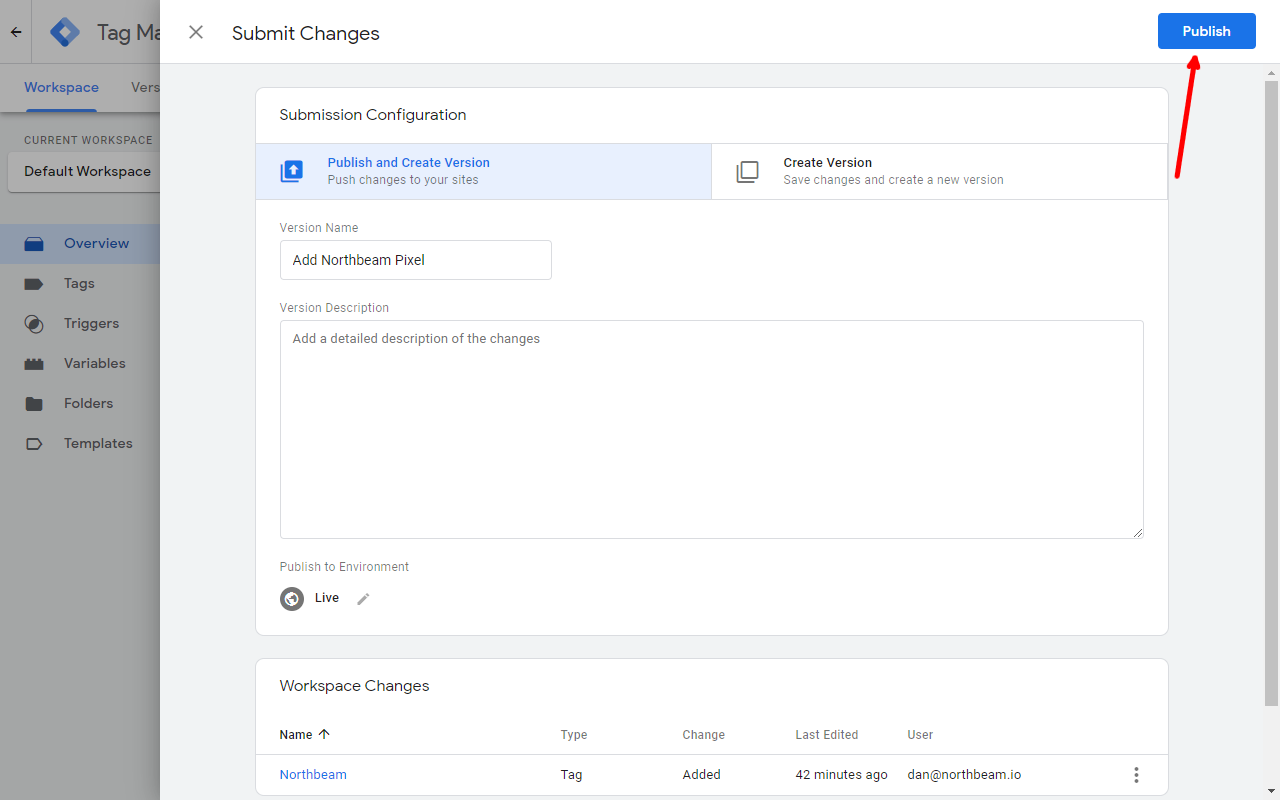
- Add a descriptive message for this change (like "Add Northbeam Pixel"). Then click "Publish" to go live.
You're done!
Shopify Instructions
- From the Shopify Admin panel,
- Click "Themes" (1),
- Click the "Actions" dropdown (2), and
- Select "Edit code" (3).

- In the code editor view,
- Select
theme.liquid(1) from the files available, and - Add the Northbeam Pixel at the top of the
<head>section (2). You can find your code snippet in your Northbeam dashboard in Settings > Tracking script tags. - Click "Save" to commit the change.
- Select

If you don't have a theme.liquid file, get in touch with us and we can help you figure out where to install the Northbeam Pixel.
You're done!
Updated 6 days ago